
How to configure CC Avenue Payment Gateway in Rise CRM

Written by cijagani
Last updated
Login into Rise CRM as an admin
Go to Settings -> Sales & Prospectus -> Payment Methods
Now to configure the payment you will require "Merchant ID", "Currencies", "Working Key", and "Access Code" generated by CC Avenue. For more details you can visit CC Avenue Portal.
After completing registration process on CC Avenue Portal you will get "Merchant ID", "Currencies", "Working Key", and "Access Code" that you can see on the dashboard. Example is provided in below image.

Once all the details are available you can add it into settings as per screenshot
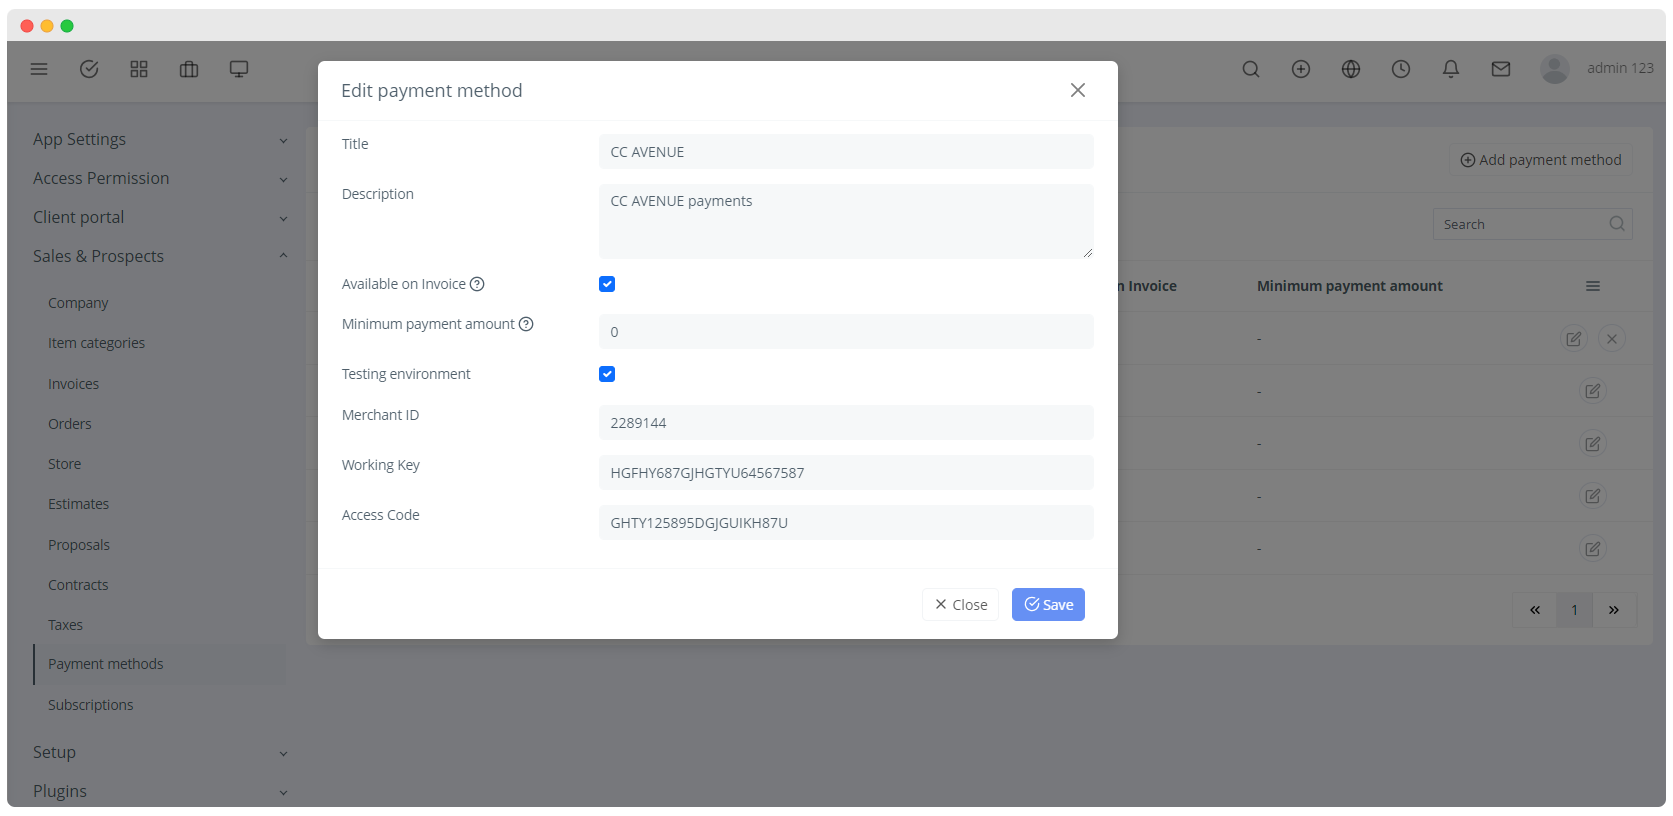
Enable the CC Avenue payment gateway option by editing the "CC Avenue" payment method and checking "AVAILABLE ON INVOICE" option to activate its functionality and use it for payments.
Please note that you will have to turn off test mode in order to ensure real transactions are processed.
Save your settings and you are ready to use CC Avenue Payment Gateway on Rise CRM.
Now you can use "CC Avenue" payment gateway option while making payments from client side
After completing all above points your client may see CC Avenue option on invoice view page.
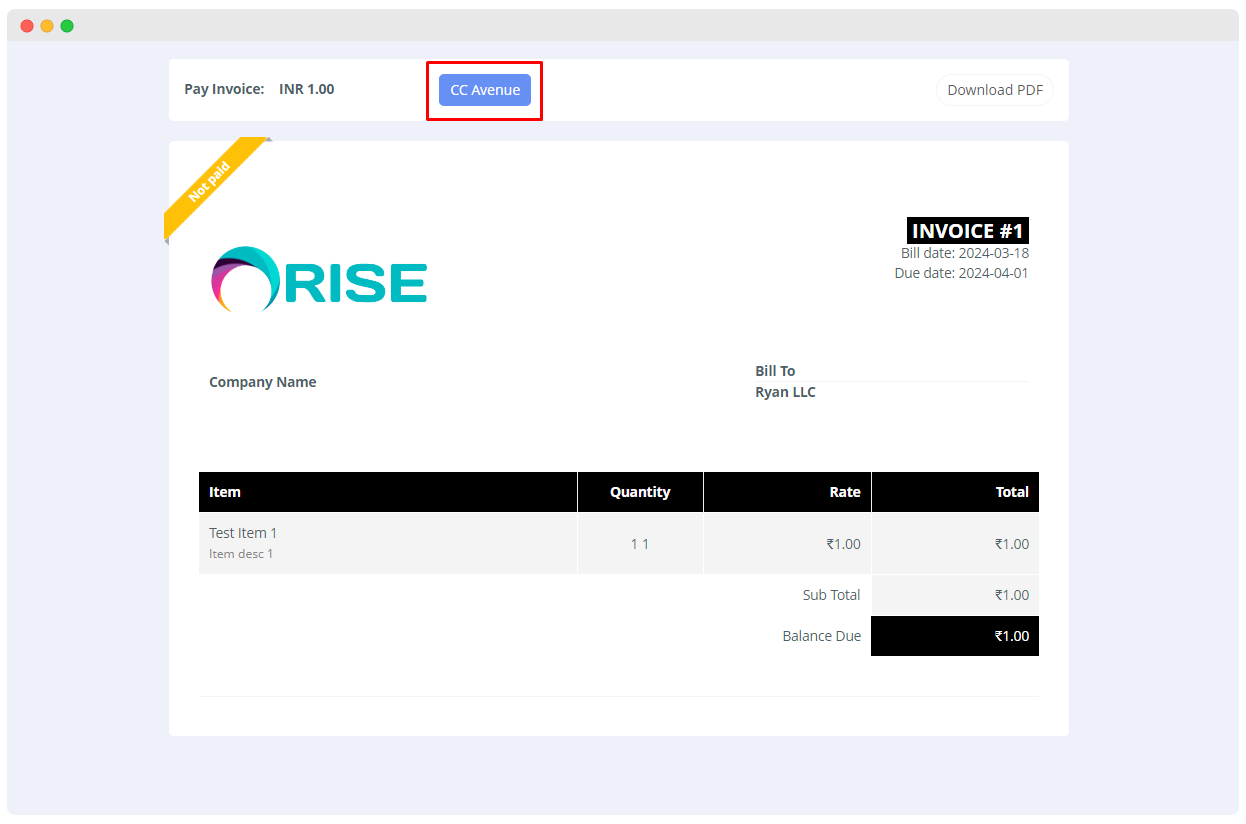
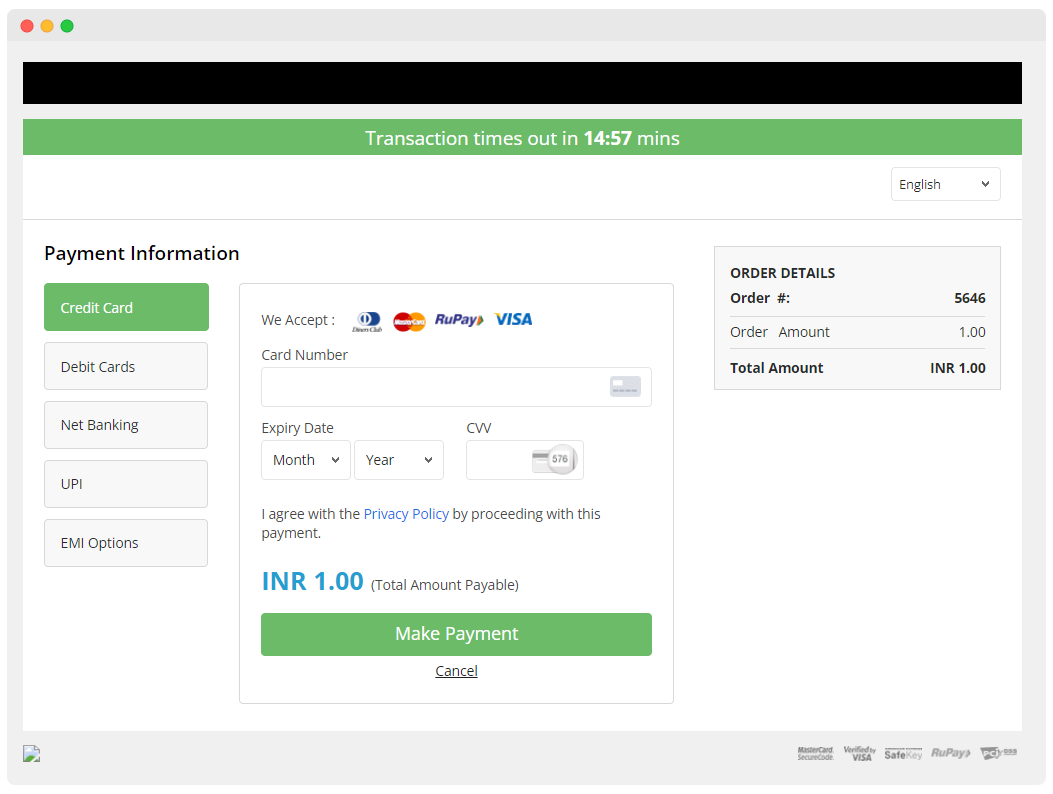
Your client may select CC Avenue option, which redirects them to CC Avenue secure portal to complete the payment.
After completing the payment the transaction will be displayed under Sales -> Payments section.

That's all, Enjoy! If you are facing any issue you can create a support ticket on our support portal. Our technical team will be available to resolve all your queries.